Why Every Website Must Have a Staging Environment: A Must in Web Development
In the rapidly evolving world of digital business, maintaining the stability and functionality of your website is paramount. This is where a staging environment steps in as an indispensable tool.
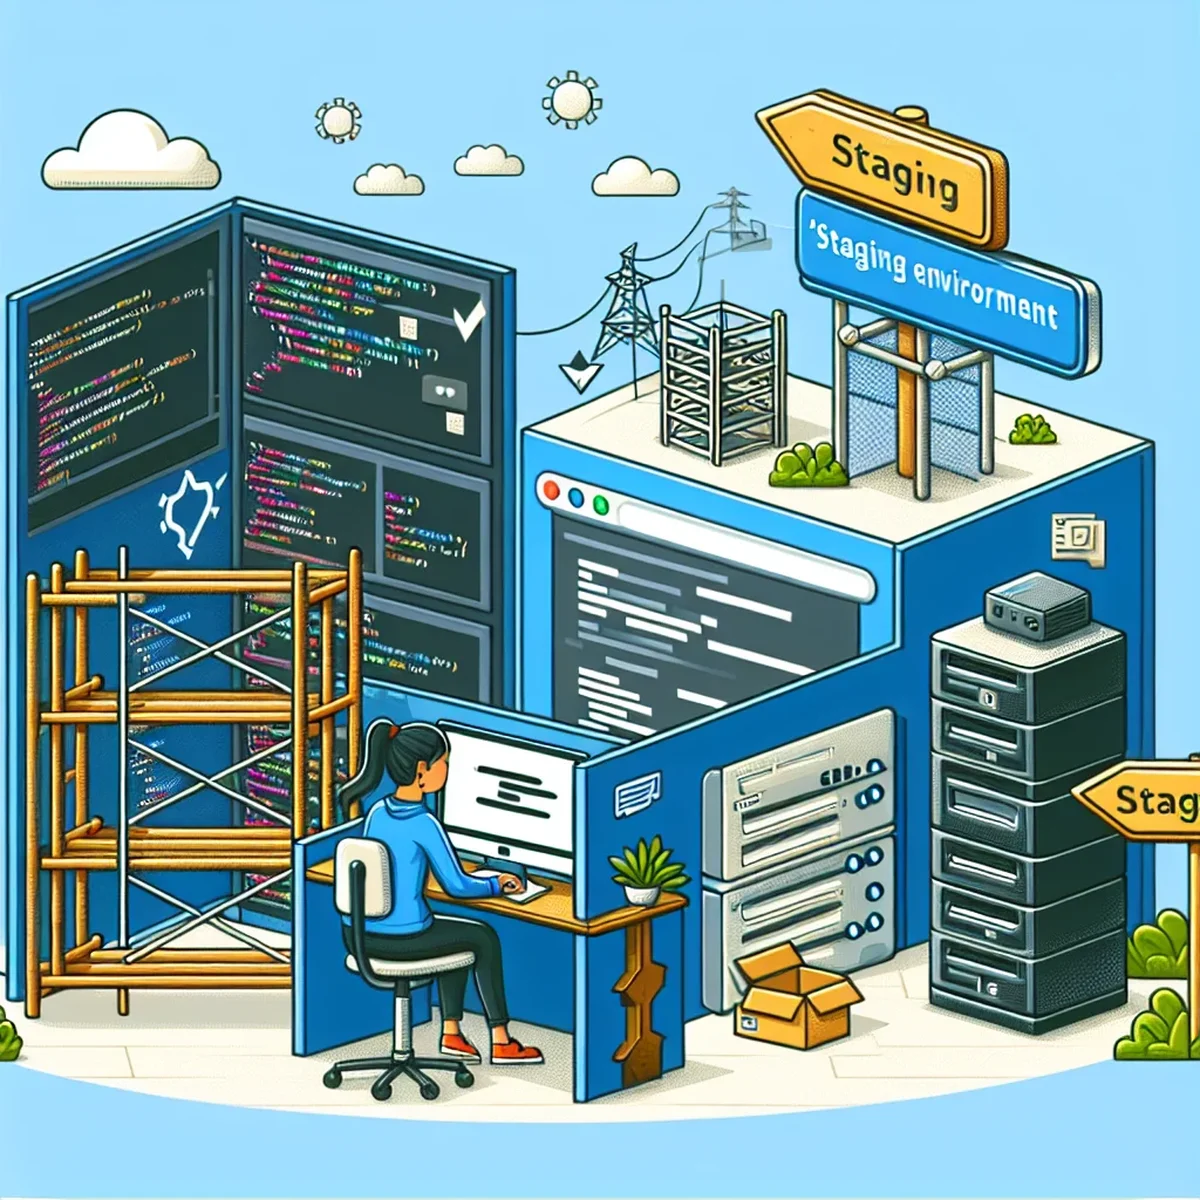
Understanding the Staging Environment
A staging environment serves as a replica of your live website, operating in a secluded setting. This setup allows developers and site administrators to test updates, new features, or any site changes in a controlled environment without affecting the live website. It’s akin to a rehearsal space for websites where everything can be tested—from code functionality and new plugins to site redesigns and security updates—before a public rollout.
The Benefits of Implementing a Staging Environment
Risk Reduction
The primary advantage of a staging environment is the significant reduction in risks associated with direct live site updates. It allows for thorough testing of new features and bug fixes before they are implemented on the main site, helping to prevent potential crashes or other issues that could affect user experience and site functionality.
Quality Assurance
Staging environments enable a rigorous quality assurance process. Developers can explore different scenarios and fix bugs, ensuring that the final version is polished and free of critical errors. This is crucial for maintaining the professional integrity of your digital presence.
Seamless User Experience
By using a staging environment, you can make significant updates without ever putting the user experience at risk. This ensures that your website visitors remain unaffected and consistently satisfied with a smooth-running site.
How to Set Up a Staging Environment
Setting up a staging environment might seem daunting, but it’s a straightforward process:
-
Choose Your Tools: Many web hosting services offer tools to create and manage staging environments. Tools like WP Engine, SiteGround, and Bluehost provide one-click staging for WordPress sites.
-
Replicate Your Site: Ensure your staging environment mirrors your live environment to test updates accurately.
-
Perform Regular Syncs: Regularly sync your staging environment with your live site to ensure consistency and the most accurate testing conditions.
-
Test Thoroughly: Use the staging site to test all changes, from minor tweaks to major updates. Ensure everything operates as expected.
-
Go Live: Once testing is complete and everything is working seamlessly, you can push changes from the staging environment to the live site.
Common Pitfalls to Avoid
While staging environments are incredibly beneficial, there are common pitfalls that you should be aware of:
-
Outdated Staging Environment: Always keep the staging environment updated to reflect the live site to avoid compatibility issues.
-
Overlooking Mobile Responsiveness: Ensure that tests in the staging environment include mobile responsiveness checks, as many users will access your site via mobile devices.
-
Skipping Backup: Always back up both your live and staging environments before making significant changes in case a rollback is needed.
In conclusion, a staging environment is not just a luxury—it’s a necessity for any serious digital business or marketing agency. It provides a safe space to test and refine website changes, ensuring that your live site remains impeccable, secure, and engaging for every visitor. By integrating a robust staging process, you safeguard your digital presence and enhance your business’s reliability and professional appeal.
FAQ
- What is a staging environment and why is it necessary?
- A staging environment is a separate, private area where you can test changes to your website before going live, essential for avoiding disruptions on your main site.
- How often should I update my staging environment?
- It’s best to update your staging environment whenever changes are planned for the live site, ensuring it mirrors the live environment as closely as possible for accurate testing.